 ENG
ENG  English
 русский
 Español
 Português
 عربى
عربى


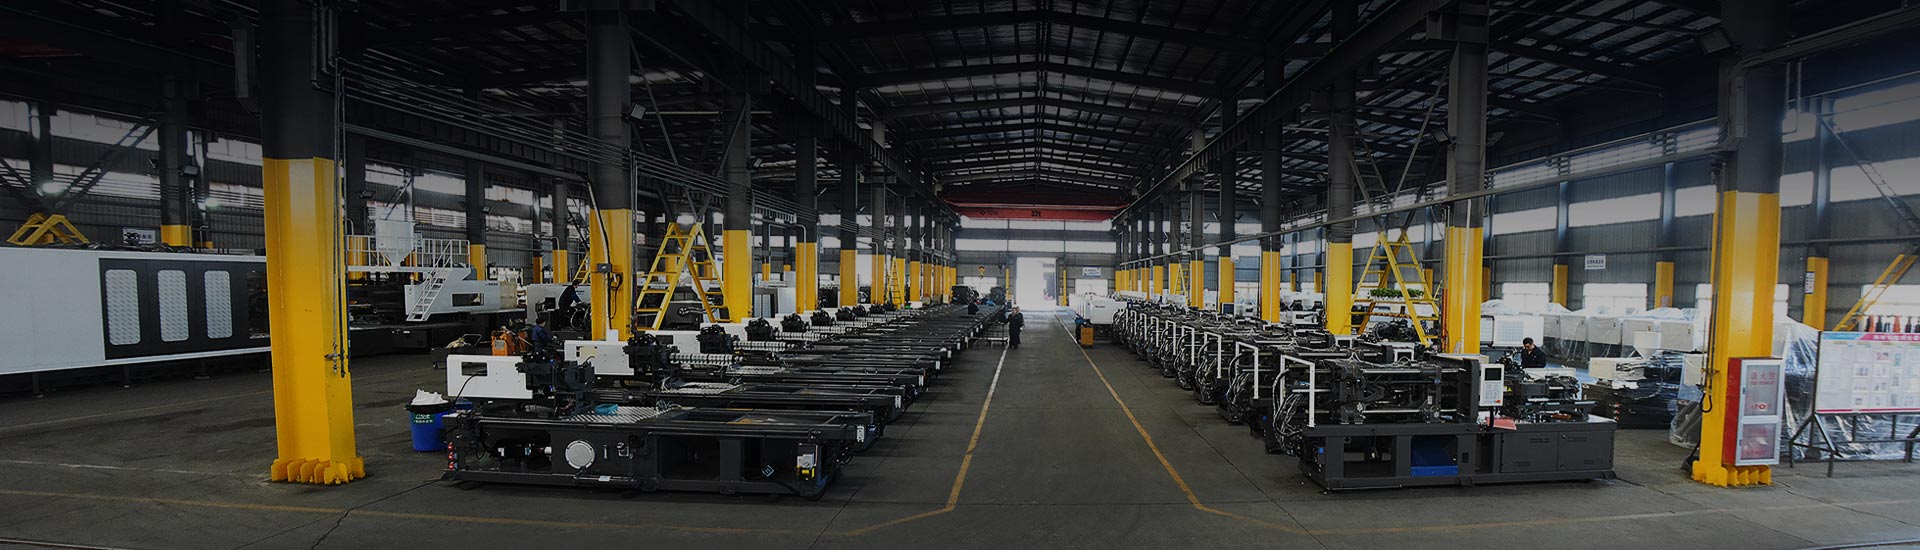
Six stages decide whether a plastic part comes out dimensionally correct, structurally sound, or scrap. If you are learning the injection moulding process step by step — as a process engineer, a production manager, or a buyer evaluating equipment — the same sequence runs on every machine: clamp, inject, hold, cool, eject, and inspect. The difference between a 99.5 percent good-part rate and a 75 percent one is seldom the machine brand alone. It is how consistently each stage is controlled.
Content
- 1 What Injection Moulding Is in a Nutshell
- 2 The Injection Moulding Step by Step Process
- 3 Cycle Time Breakdown: Where the Process Time Goes
- 4 Machine Parameters That Decide the Outcome
- 5 Choosing Equipment for Each Moulding Stage
- 6 Common Injection Moulding Defects and Prevention
- 7 Frequently Asked Questions
- 7.1 Q1: What is the injection moulding process step by step?
- 7.2 Q2: How long does an injection moulding cycle take?
- 7.3 Q3: What materials can be used for injection moulding?
- 7.4 Q4: How much does an injection moulding machine cost?
- 7.5 Q5: How can I reduce injection moulding cycle time?
- 7.6 Q6: What is the difference between hydraulic and electric injection moulding machines?
What Injection Moulding Is in a Nutshell
Injection moulding is a manufacturing process where melted thermoplastic or thermoset material is forced under pressure into a closed steel mould cavity. The part takes the shape of the cavity and is ejected once it solidifies. It is used for everything from PET preforms and automotive trim to thin-wall packaging containers, and it produces most of the plastic components that people use every day.
The Injection Moulding Step by Step Process
Step 1: Clamping and Mold Closing
The clamping unit moves the moving platen forward and locks the mould shut. Clamp force must be high enough to resist the internal cavity pressure created during injection. If clamping force is too low, the mould opens slightly and flash appears at the parting line. On a typical 230-ton servo machine, the toggle mechanism delivers the rated clamp force in about 2 to 3 seconds before the shot begins.
Step 2: Injection and Filling
The screw rotates to melt and convey the resin, then acts as a plunger to push the melt through the nozzle, sprue, runner system, and gates into the mould cavity. Injection speed and pressure are the main parameters. A thin-wall container needs fast injection to prevent the melt from freezing before the cavity is full. A thick-walled automotive part needs slower injection speed to avoid burn marks and weld lines. This injection moulding basic process is where most production issues originate.
Step 3: Holding Pressure
After filling, the screw holds pressure for a defined period. As the plastic cools and shrinks, holding pressure feeds additional material into the cavity to compensate for the volume loss and avoid sink marks. This stage usually lasts 1 to 5 seconds depending on wall thickness, and hold pressure is typically set at 50 to 80 percent of the injection pressure.
Step 4: Cooling
Cooling is the longest stage in the cycle. Heat transfers from the plastic to the mould steel and then to the water or oil in the cooling channels. Larger wall sections require longer cooling times. A rough rule is 1 to 2 seconds of cooling time per millimetre of wall thickness, but the resin, mould temperature, and cooling-channel design all affect the actual time.
Step 5: Ejection
Once the part is below the material heat deflection temperature, the mould opens and the ejector system pushes the part out of the cavity. Ejector pins must spread force across the part; too much local pressure causes white marks, deformation, or cracks.
Step 6: Post-Processing and Inspection
The ejected part is checked for dimensional accuracy, surface finish, warpage, sink marks, and flash. Gate and runner trimming may be performed, and regrind can be reintroduced at a controlled percentage. Automated vision systems, CMM probing, and manual checks verify the part against its drawing.
Cycle Time Breakdown: Where the Process Time Goes
For any injection moulder, the cycle time determines how many parts are produced per hour. A typical 250-ton injection cycle shows which stages matter most for productivity.
Cooling alone accounts for more than half the cycle time. This is why effective tool temperature control and efficient water-channel design are often the fastest way to increase output without adding machine cost. For producers running thin-wall packaging, a high-speed machine with an optimised toggle structure reduces both clamping and injection time, which is why compact cycle times matter more than raw clamp force in that segment.
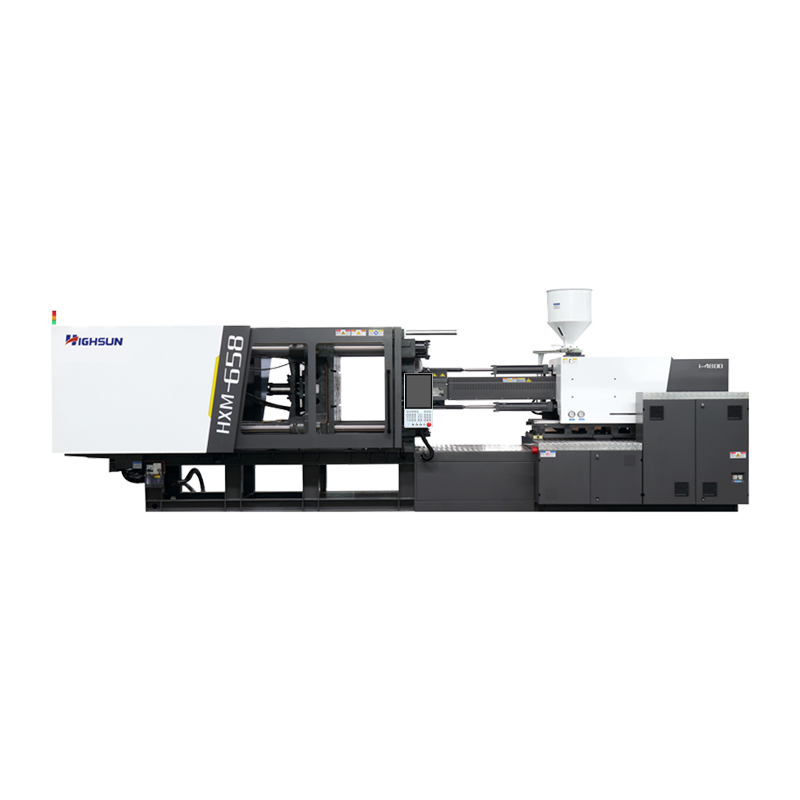
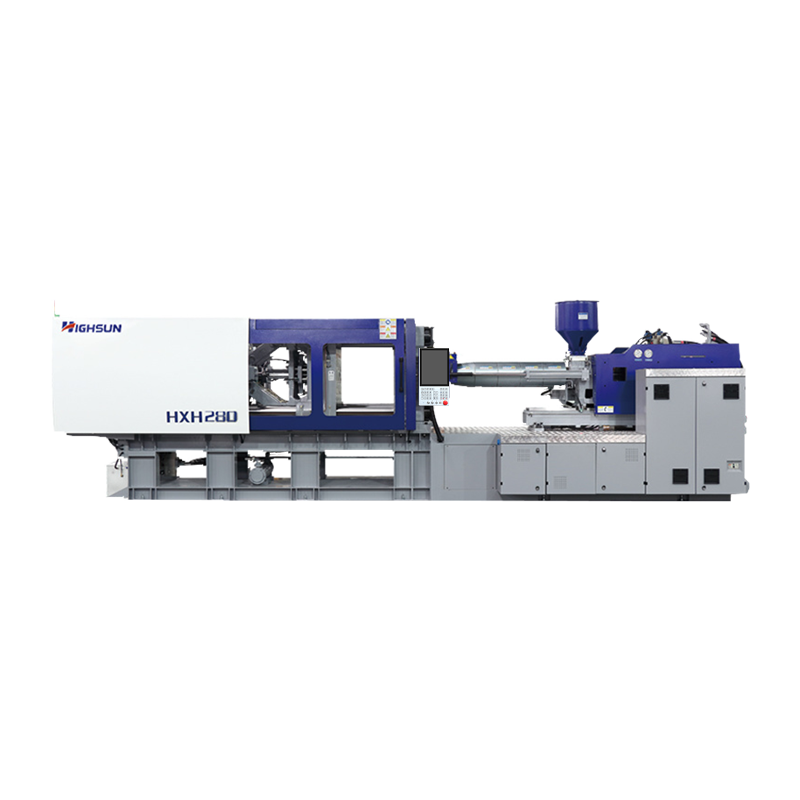 High-Speed Injection Molding Machine with Closed-Loop ControlThe HXH280 offers real-time pressure and temperature monitoring, enabling precise adjustments in milliseconds. This reduces part-to-part variation, making it ideal for thin-wall packaging where fast cycles matter.View Product →
Machine Parameters That Decide the Outcome
Some process parameters matter more than others. On a servo-driven or smart-power machine, pressure and speed feedback is continuous, which lets the control system adjust the process in real time. This reduces part-to-part variation.
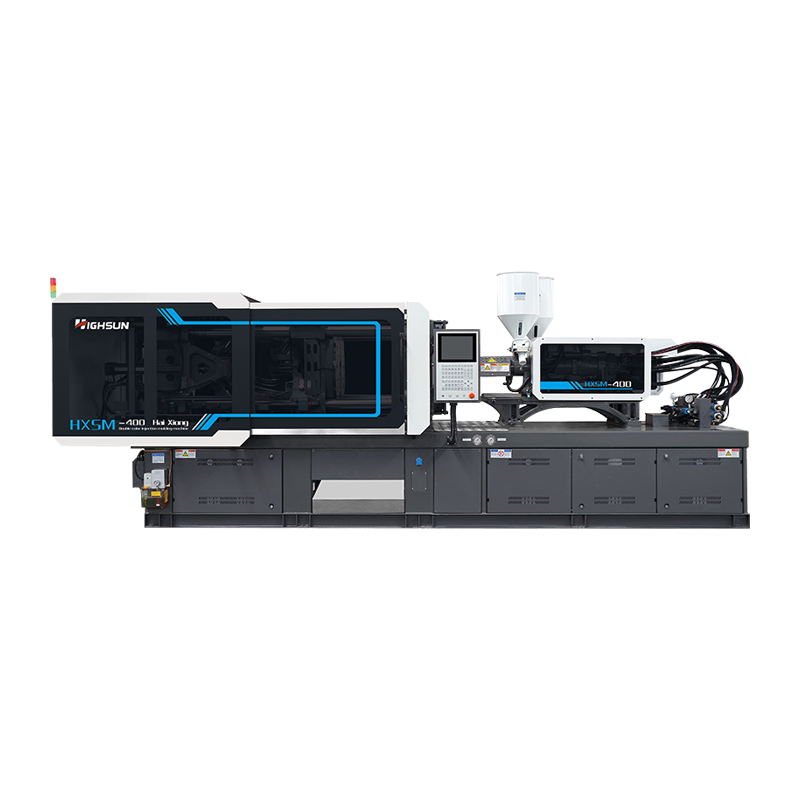
The SP Smart Power series uses low-inertia, high-response servo systems to maintain consistent injection velocity and pressure, which is critical when validating the injection moulding process step by step on a full-scale production line.
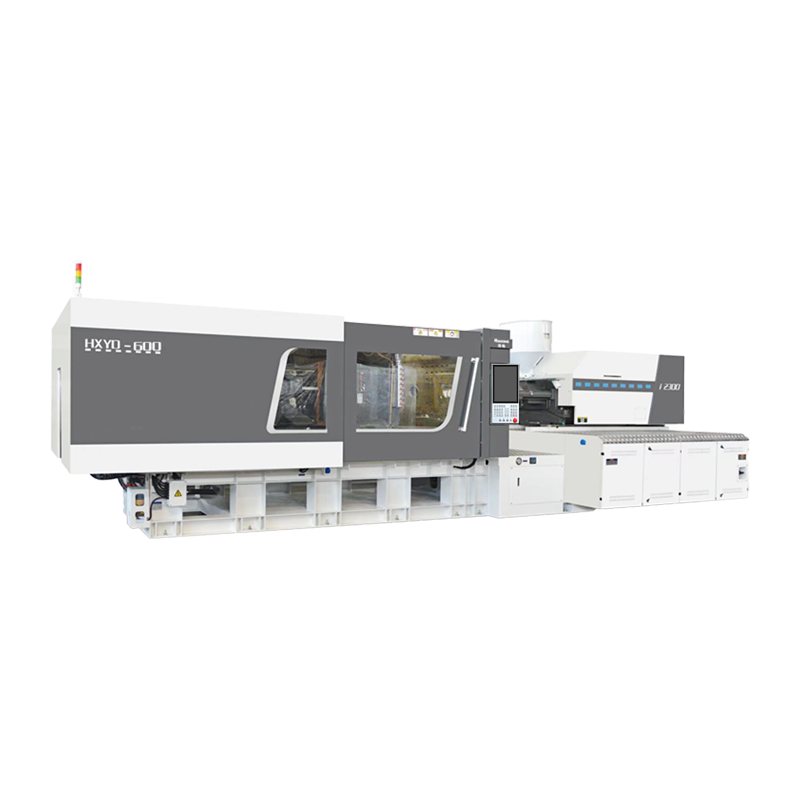
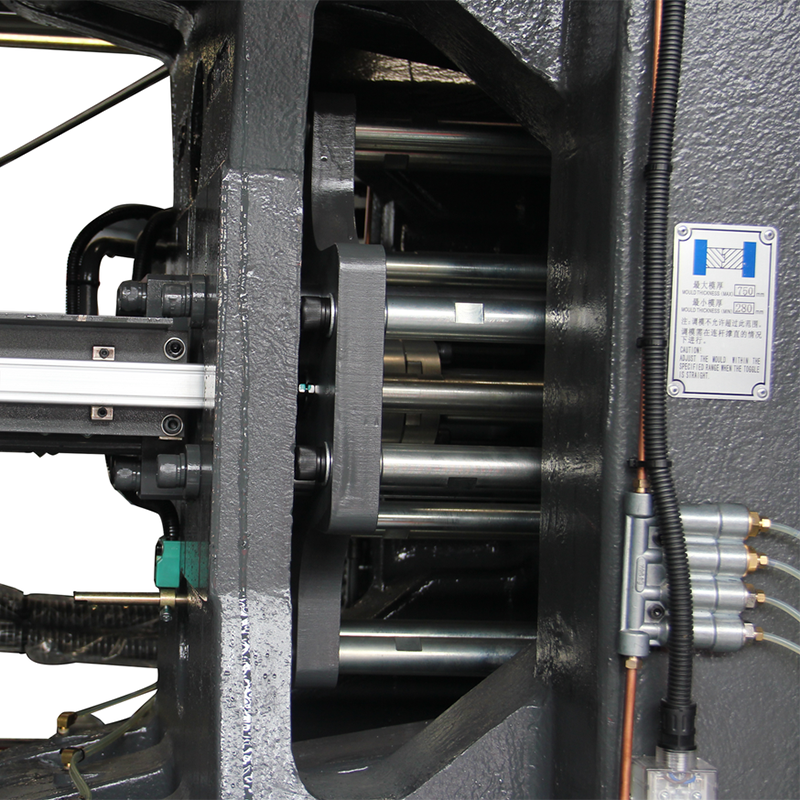 Smart Power Injection Molding Machine for Precision Small PartsThe SP350 excels in producing electronic components like connectors with high dimensional accuracy. Its intelligent system adapts to different materials, ensuring stable quality and fine surface finish.View Product →
Choosing Equipment for Each Moulding Stage
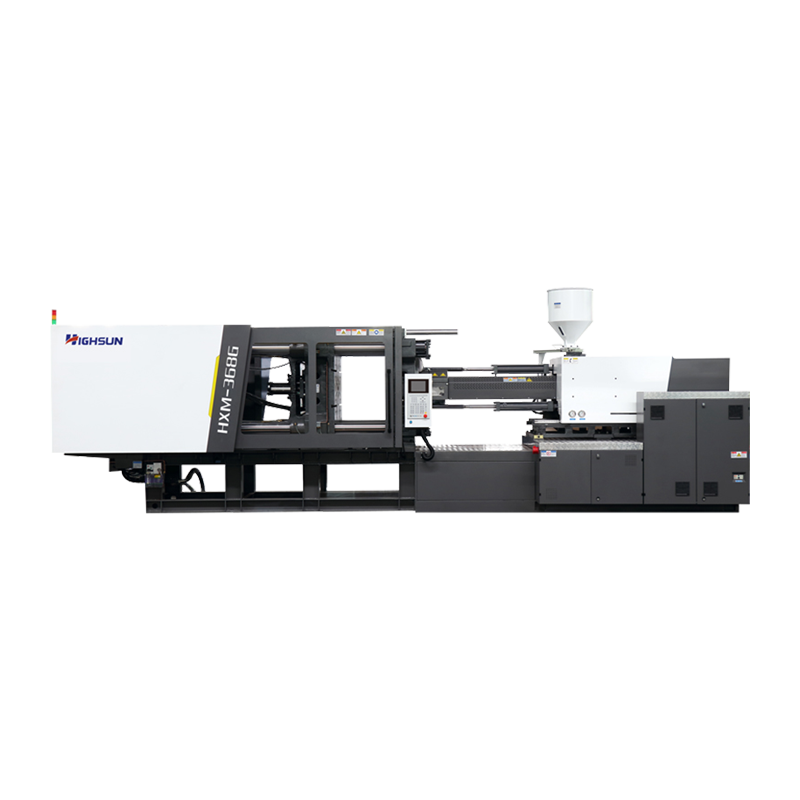
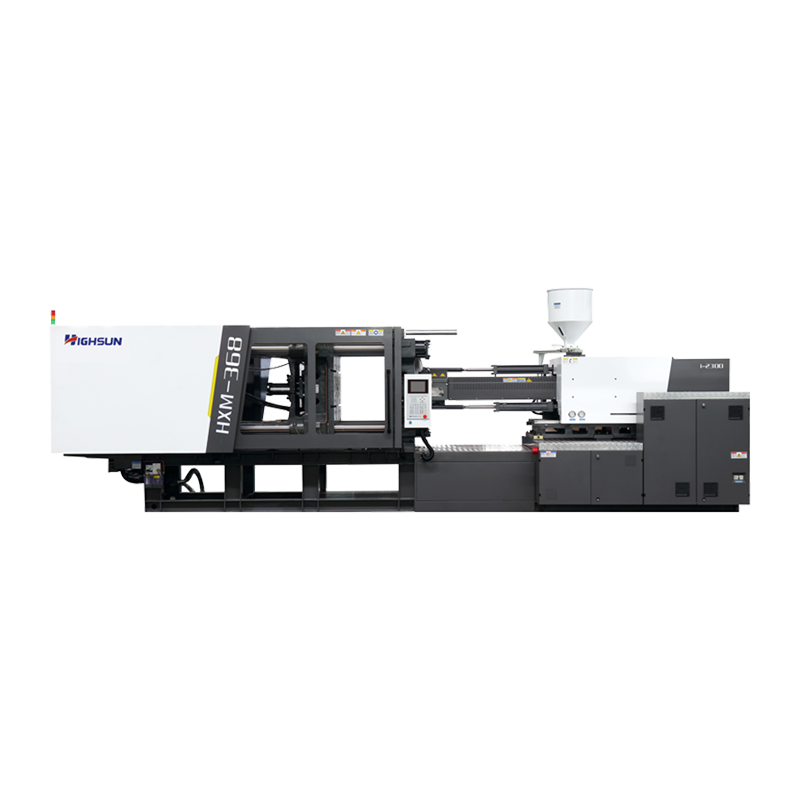
General-purpose work is best handled by a servo machine that balances energy consumption with repeatability. The HXM208 servo delivery allows dynamic power adjustment to match the actual load, cutting energy use while maintaining stable repeatability across shifts.
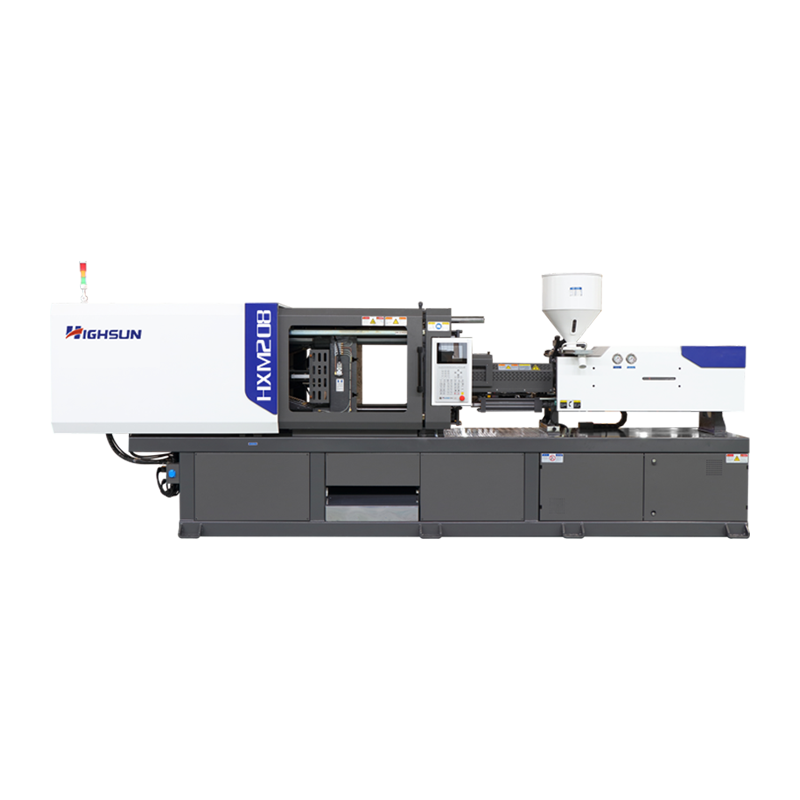 Servo-Driven Injection Molding Machine with Energy SavingsThe HXM208 features a servo power system that adjusts to load, cutting energy use by 45-75%. It maintains repeatability across shifts, suitable for general-purpose work.View Product →
For large parts or multi-cavity moulds, a two-platen machine offers a shorter footprint and more even clamp distribution. For applications outside standard general-purpose work, evaluating the plastic injection moulding applications is a practical first step before deciding between a servo, hybrid, or all-electric machine architecture.
Common Injection Moulding Defects and Prevention
Some defects appear even when the machine appears to be running the correct cycle. Reviewing the six steps above and checking the parameter window for each stage helps prevent these daily quality issues.
| Defect | Root Cause | Fix |
|---|---|---|
| Flash | Clamp force too low | Increase clamp force or lower injection pressure |
| Sink marks | Short holding pressure | Increase hold pressure or extend hold time |
| Warpage | Uneven cooling | Adjust cooling channels or add draft angles |
| Short shot | Shallow gate or low material volume | Raise shot size or injection pressure |
| Burn marks | Entrapped air in cavity | Improve venting or slow injection speed |
| Weld lines | Cold flow front meeting | Raise material temperature or injection speed |
Frequently Asked Questions
Q1: What is the injection moulding process step by step?
A: The standard sequence is clamping, injection, holding pressure, cooling, ejection, and inspection. Each stage is controlled by the machine settings.
Q2: How long does an injection moulding cycle take?
A: Cycle times vary from 10 seconds for thin-wall packaging to minutes for thick-walled automotive parts. Cooling is usually the longest stage.
Q3: What materials can be used for injection moulding?
A: Thermoplastics such as PP, PE, ABS, PC, PA, PET, and PVC are common. Some thermosets and liquid silicone rubber are also used.
Q4: How much does an injection moulding machine cost?
A: Machine price depends on clamp force, control technology, and application. A 230-ton servo machine costs far less than a two-platen machine over 800 tons.
Q5: How can I reduce injection moulding cycle time?
A: Optimise coolant channels, raise mould temperature control efficiency, reduce wall thickness through design, and choose a machine with responsive injection.
Q6: What is the difference between hydraulic and electric injection moulding machines?
A: Hydraulic machines use hydraulic oil for clamping and injection. All-electric machines use servo motors for lower energy consumption and cleaner operation. Hybrid machines combine both.
 +86-188 6861 6288
 haixiong@highsun-machinery.com
 No.36 Yongjiang South Road, Beilun District. Ningbo City, 315800, China