 ENG
ENG  English
 русский
 Español
 Português
 عربى
عربى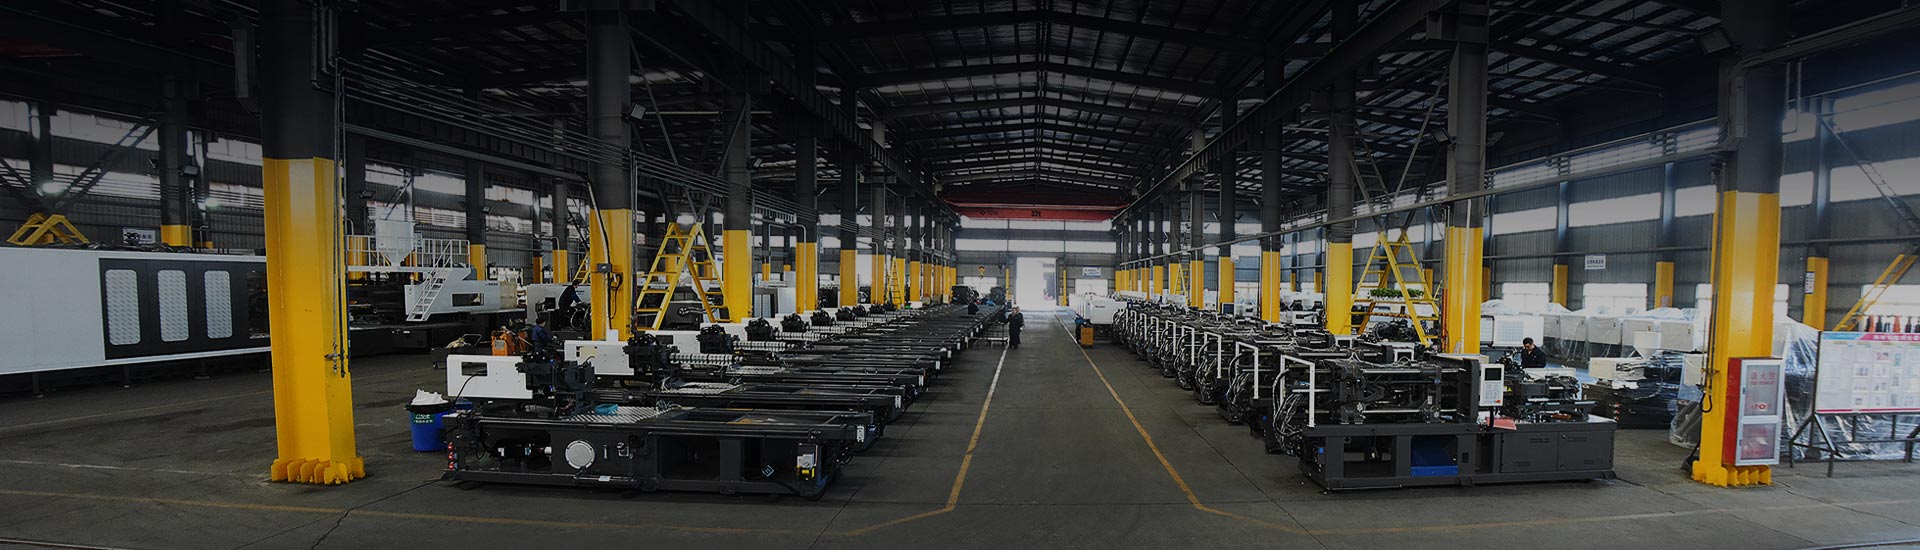
Power Injection Molding Machine refers to equipment that completes plastic injection molding through a specific power drive system (such as hydraulic, electric or hybrid). Its core features are high efficiency, high precision, and adaptability to multi-material processing. It is widely used in the automotive, electronics, medical and other industries.
Content
1. Working Principle of Power Injection Molding Machine
(1) What is a power injection molding machine?
Power injection molding machine is not a single model, but refers to a general injection molding equipment that relies on a power system to drive injection and mold closing actions, which is different from the early manual or pneumatic injection molding machines. Its core function is to mold plastic raw materials (such as ABS, PC, PP) into the required products through steps such as heating, plasticizing, injection, pressure holding, and cooling.
(2) Workflow
Mold closing: The power system (hydraulic/electric) pushes the template to close and lock the mold.
Injection: The screw rotates to inject the molten plastic into the mold cavity.
Pressure holding: Maintain pressure to compensate for shrinkage and ensure product density.
Cooling: The mold cools and sets. Mold opening and ejection: Power drives the ejector pin to push out the finished product.

2. Three major types of power injection molding machines
(1) Hydraulic injection molding machine
Power source: Hydraulic pump (gear pump/plunger pump) drives the oil cylinder.
Advantages: Strong power, suitable for large-tonnage mold clamping (such as automotive parts).
Disadvantages: High energy consumption (continuous operation of the oil pump), high noise.
(2) Fully electric injection molding machine
Power source: Servo motor directly drives the ball screw.
Advantages: Energy saving (saving more than 50% of electricity), high precision (±0.01mm).
Disadvantages: High initial cost and complex maintenance.
(3) Hybrid injection molding machine
Power source: Hydraulic + servo motor (such as hydraulic for mold clamping, electric for injection).
Advantages: Balanced energy consumption and power, high cost performance.
Disadvantages: Increased system complexity.
3. Maintenance and troubleshooting of power injection molding machines
(1) Hydraulic press maintenance
Regular hydraulic oil change: every 2000 hours or when the oil is turbid.
Filter cleaning: Prevent impurities from clogging the valve block.
(2) Electric injection molding machine maintenance
Screw lubrication: Apply lithium-based grease monthly.
Encoder calibration: Once a year to prevent positioning drift.
(3) Common fault table
| Fault | Possible Cause | Solution |
| Insufficient injection | Shot size set too low/screw worn | Adjust parameters or replace screw |
| Mold clamping asynchronization | Hydraulic valve stuck/servo motor failure | Clean valve body or repair motor |
| Product flash | Insufficient clamping force/mold worn | Increase clamping force or repair mold |
4. Operation specifications of power injection molding machine
(1). Preparation before operation
1) Safety inspection
Personal protection: Wear protective gloves, goggles, and anti-smash shoes to avoid burns or mechanical injuries.
Equipment status:
Confirm that the emergency stop button is valid and the safety door interlock function is normal.
Check the hydraulic oil level (hydraulic press) or servo motor cooling system (electric injection molding machine).
Mold installation:
Use lifting equipment to install the mold stably and ensure uniform clamping force (avoid unilateral force).
Check the size of the mold and the injection molding machine template (such as the alignment of the nozzle and the mold gate).
2) Parameter setting
Temperature: Set the barrel temperature according to the material (such as ABS: 200~240℃).
Pressure/speed:
Injection pressure (usually 50~150MPa), holding pressure (60%~80% of the injection pressure).
Segment injection setting (such as high-speed filling → low-speed holding pressure).
Cycle time: Adjust the cooling time according to the thickness of the product (usually 5~30 seconds).
(2). Start-up and production process
1) Start-up steps
Preheat the barrel: After reaching the set temperature, keep the temperature constant for 10~15 minutes (to avoid damage to the screw due to cold start).
Manual test:
Manually operate the injection molding and mold opening and closing to observe whether the movement is smooth.
Dry shot 3~5 times to remove residual impurities (especially when changing materials).
Automatic operation:
Switch to semi-automatic mode for trial production, and check the size and appearance of the first piece.
Switch to full-automatic mode after passing the test, and set the counter to monitor the output.
2) Production monitoring
Real-time observation:
Barrel temperature fluctuation (±5℃ is normal).
Hydraulic system oil temperature (recommended <55℃, if too high, check the cooler).
Product quality inspection:
Spot check once every 30 minutes to measure key dimensions (such as snap fit).
Check for defects such as flash, shrinkage, and missing materials, and adjust parameters in time.
(3) Safety precautions
1) Prohibited actions
Entering the mold area with hands: Do not reach into the mold clamping area even when the machine is stopped.
Operating with faults: Do not produce until problems such as hydraulic leakage and temperature control failure are resolved.
Overload: The clamping force must not exceed the rated value (e.g., a 100-ton machine must not be adjusted to 120 tons).
2) Danger prevention
High temperature burns: The surface temperature of the barrel and mold can reach over 200°C. Do not touch them directly.
Hydraulic oil spraying: Avoid the front when checking the oil pipe to prevent high-pressure oil leakage and injury.


 +86-188 6861 6288
 haixiong@highsun-machinery.com
 No.36 Yongjiang South Road, Beilun District. Ningbo City, 315800, China